Category: Free Inquiry

Sourdough – Reflection

Coming to the end of this term, I wanted to do a reflection on how my sourdough inquiry has gone and what it’s revealed.

As a reminder, these are the main questions I was asking going into this process:

  • What makes a healthy, happy starter
  • How using different types of flour in two different starters affect the flavour of the loaf(s)

I’ll go through them one at a time to share what this inquiry/experiment has taught me through my hands-on experience working with sourdough.

What makes a healthy starter?

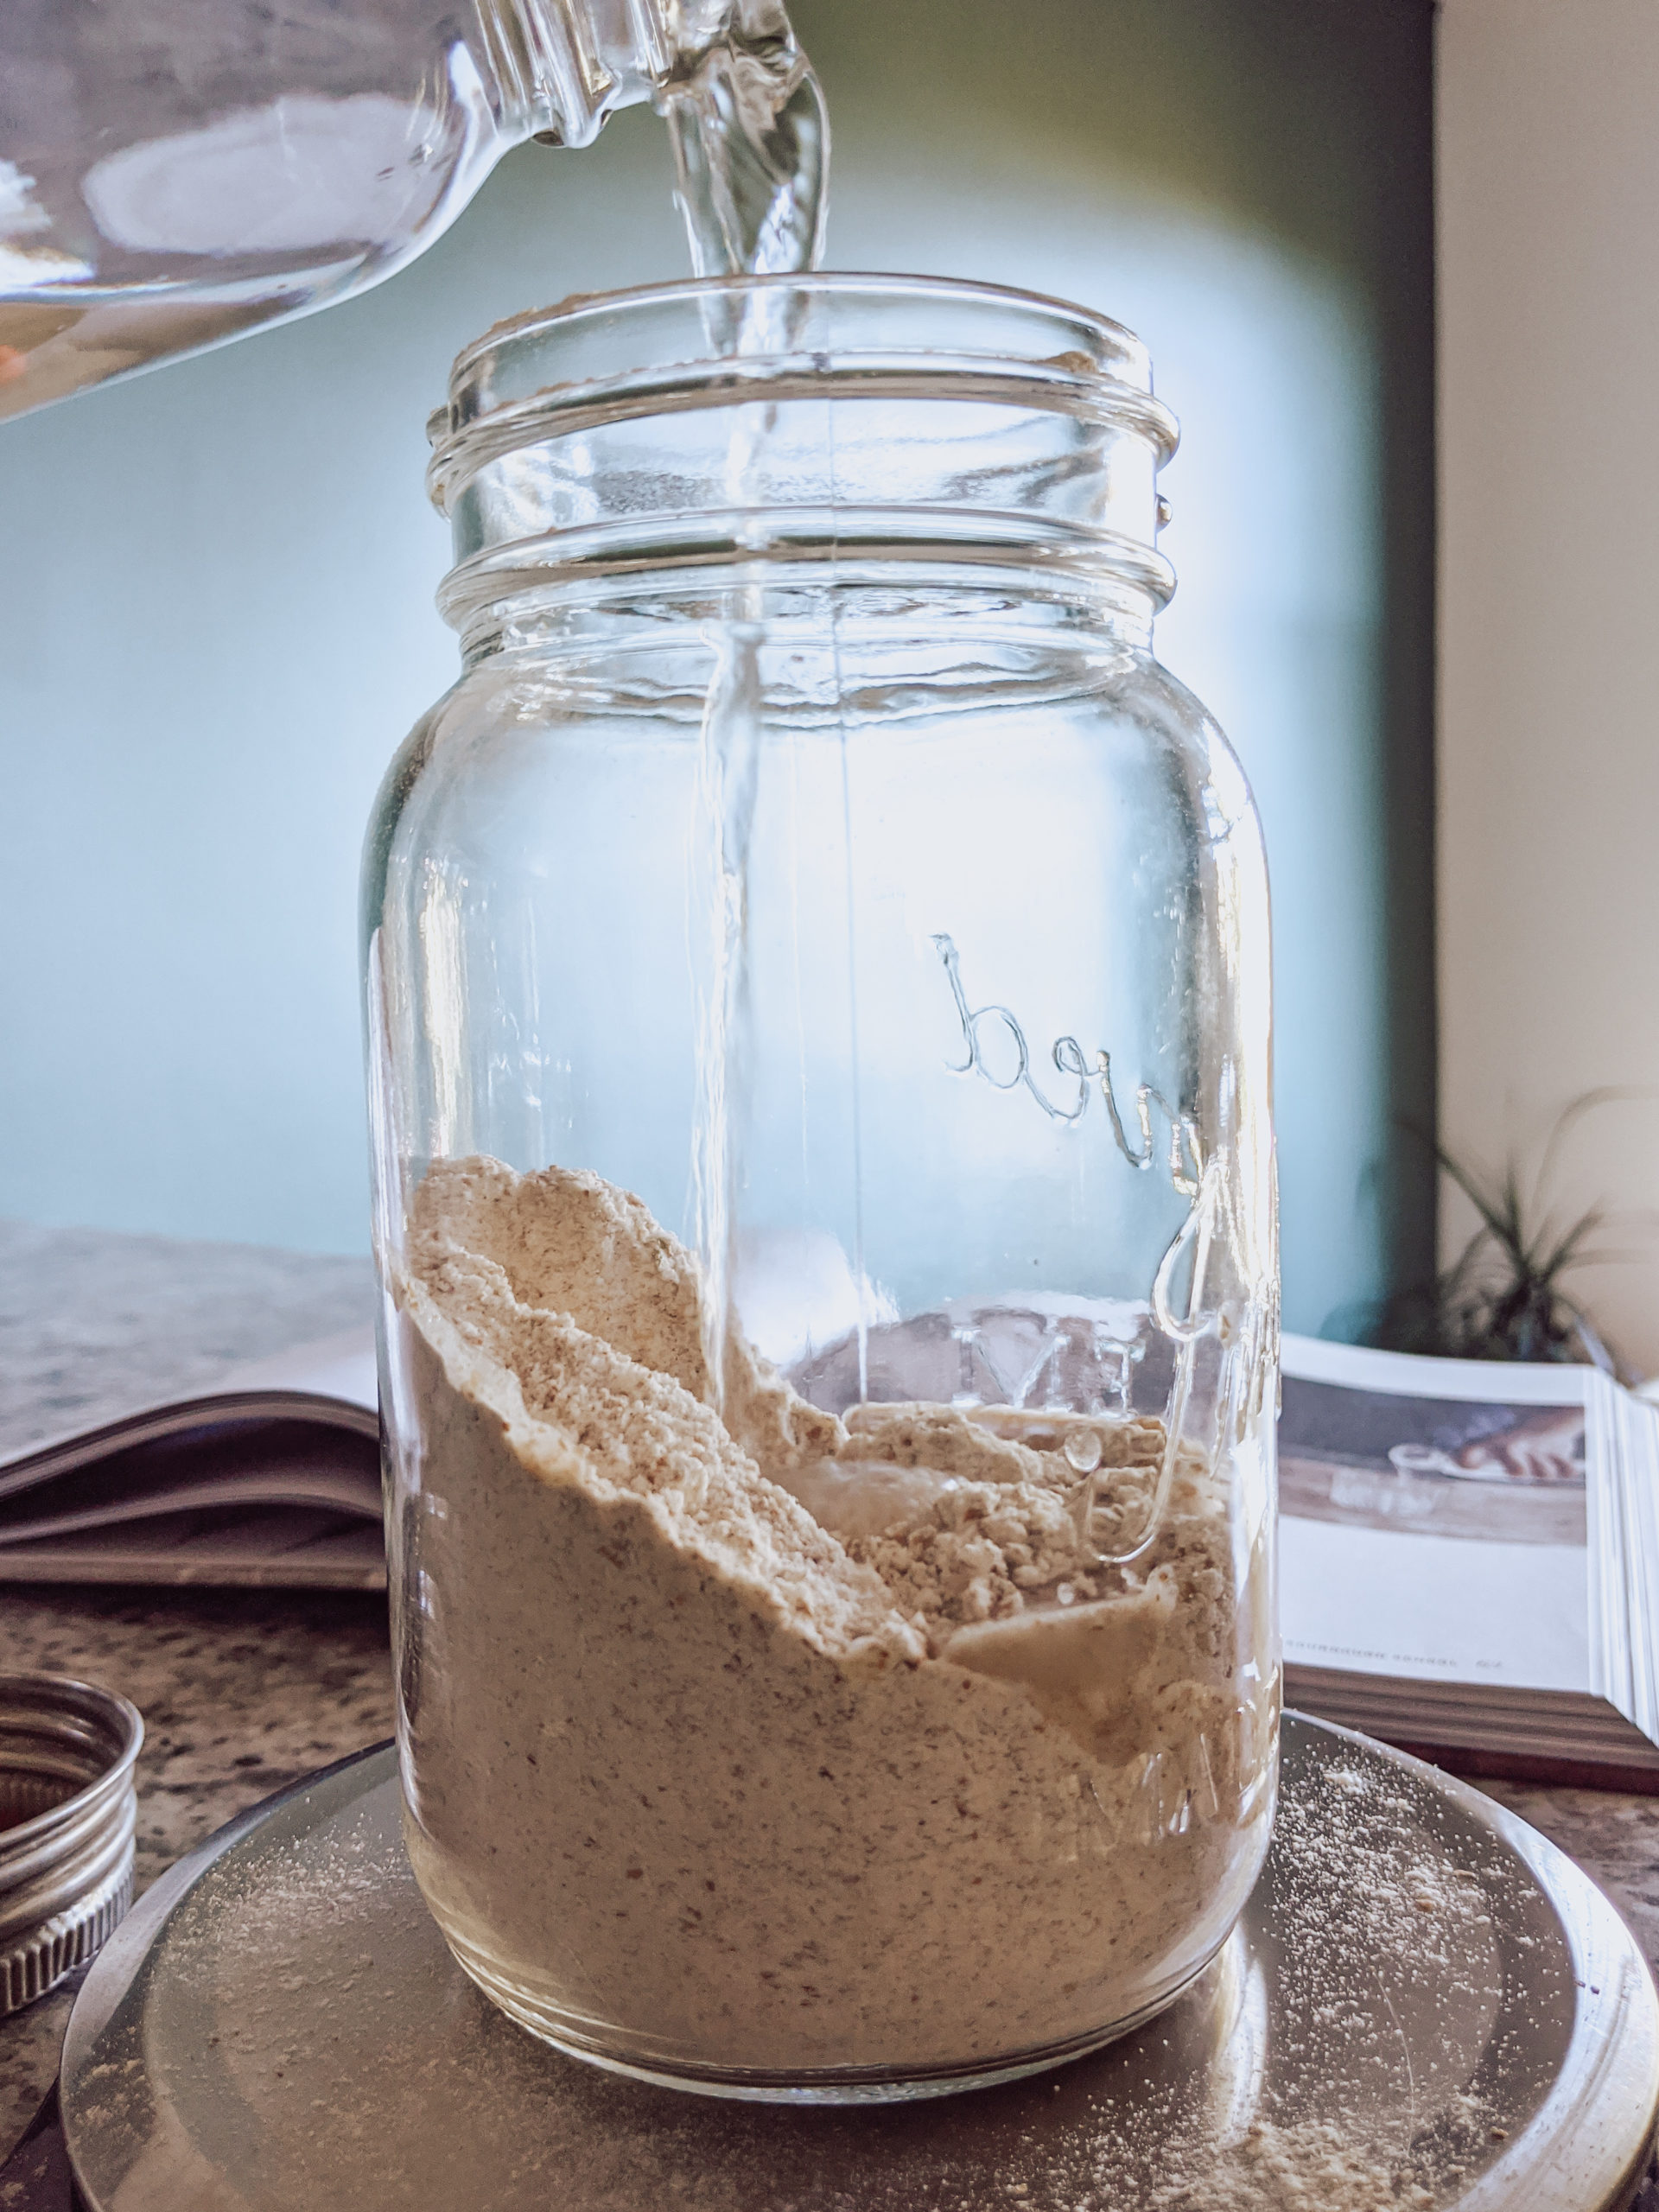
Time: For the first few days not a whole lots happened much happened. By the end of the first week I was seeing some action – they were looking a little more airy and I could see that they had risen and dropped a little bit. But it took about 10 days or so for me to see and smell a happy, living starters.

Temperature: This was the biggest constant struggle I had to keep in mind, even after I had established starters. I keep my house a bit on the chilly side, which I have come to learn that sourdough does not love. Sometimes, after feeding, they would not be as active as I thought they should be. I changed the spot that I kept the jars to places that gave off a bit more heat and that seemed to help keep them more lively.

Consistent feeding: Oops!  During some of the busier times of the term I definitely neglected my poor starters a bit. There were a few times when I had to revive them – luckily they pulled through each time.

How do different types of starters affect flavour?

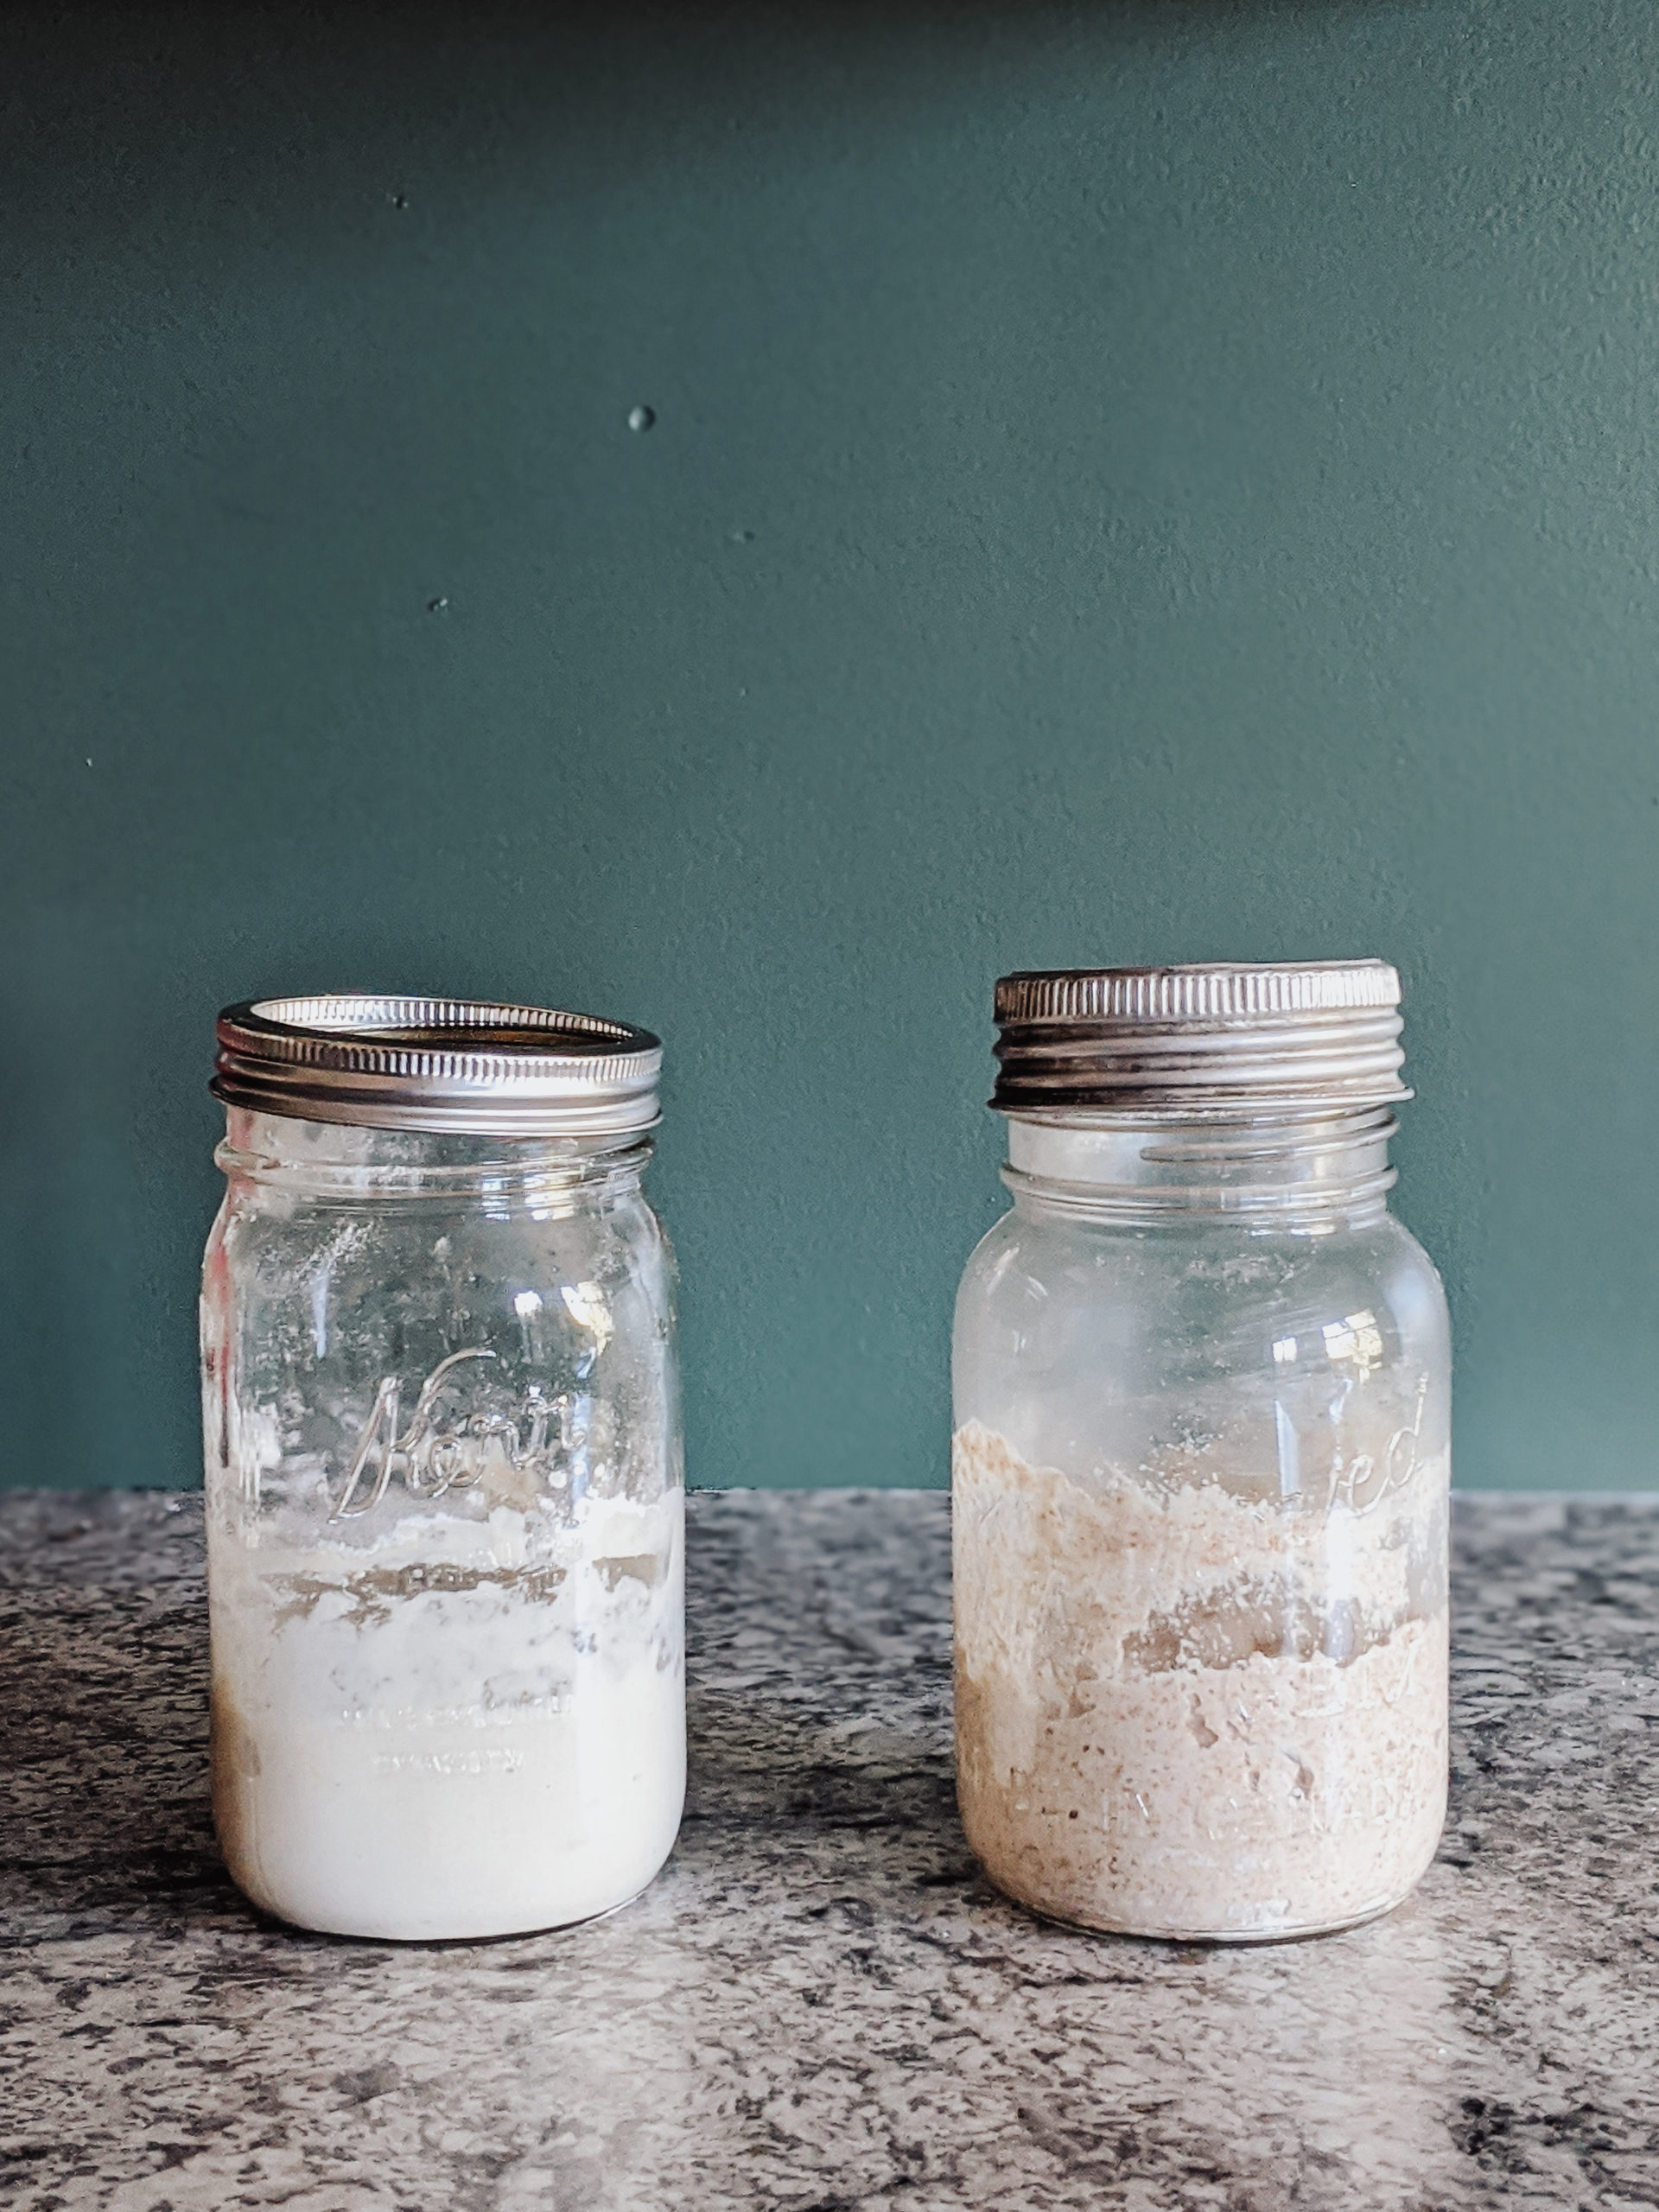
Throughout this whole process, I maintained one starter that was made of only unbleached all-purpose flour, and one made of only red-fife whole wheat. Everything I made (with the exception of the last two bakes), I made one using each starter so that I could take note of the flavour difference between the two. This has been the most interesting and fun part of the inquiry, and this is what I’ve found…
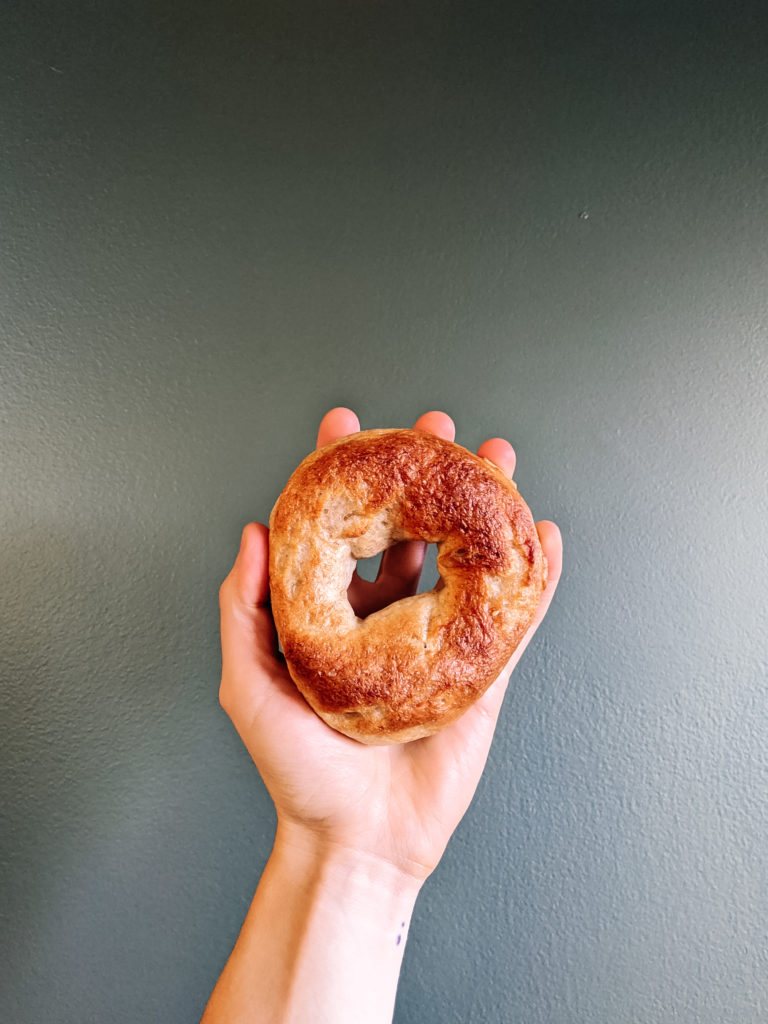
All-purpose:
In general, the AP starter consistently produced a more true sour flavour, which I prefer. The sour flavour was cleaner, brighter, and pretty tangy. It offered a sweetness to the sour taste, often with hints of buttermilk or yogurt.
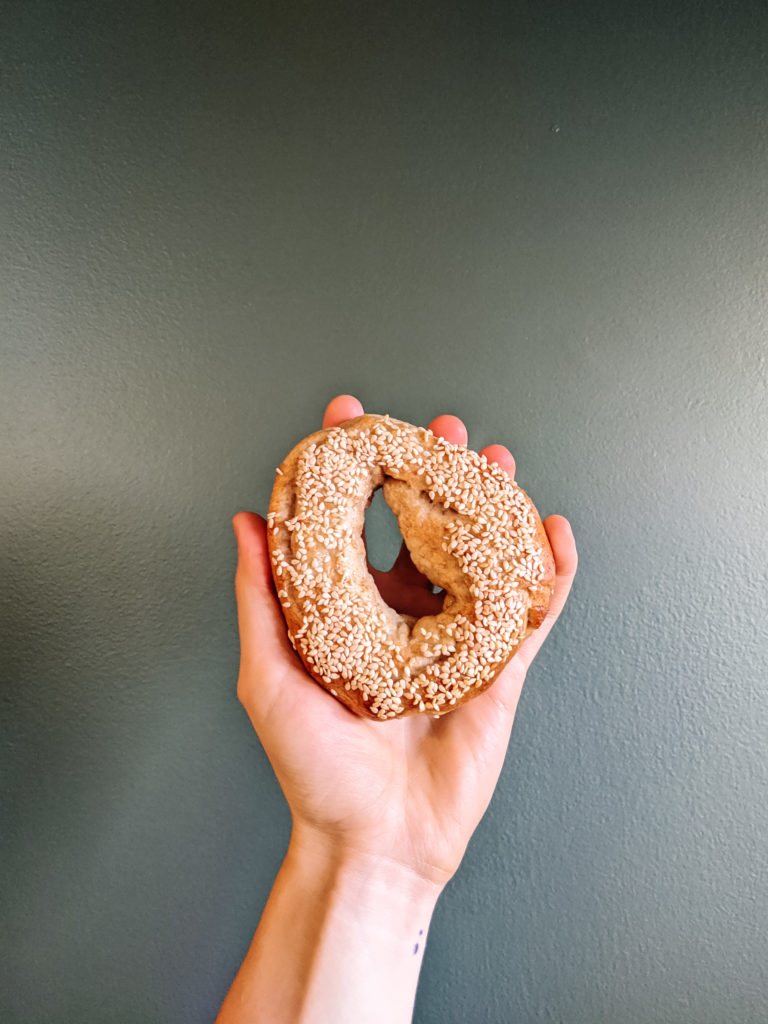
Whole-wheat: 
The whole-wheat starter performed pretty steadily, almost always offering up the same notes each bake. It gave off a mild, but still detectable, sour tang. The main flavours that shone through from it were a hearty, grainy, saltiness that, at times, was a tad overpowering in certain baked goods.
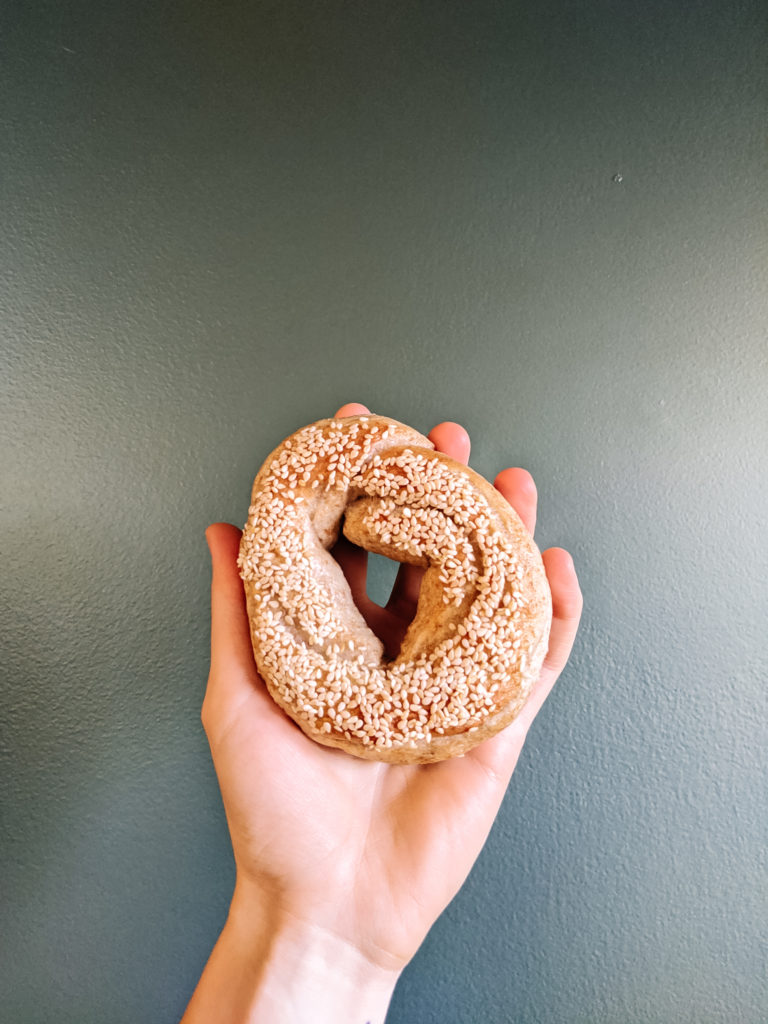
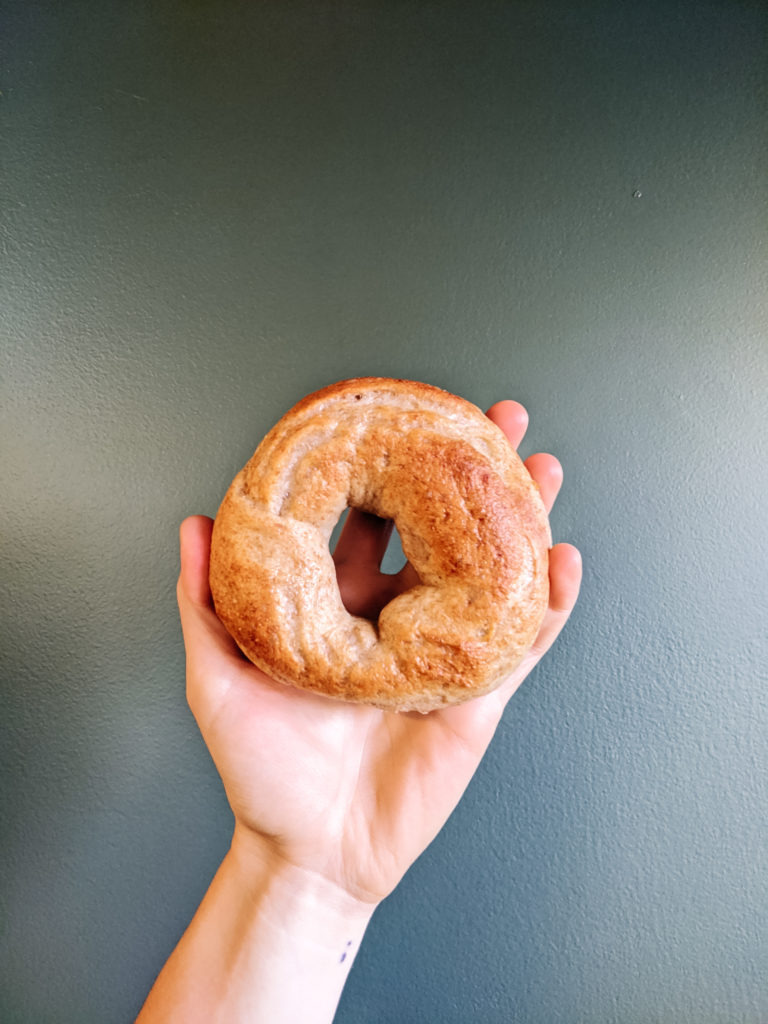
The result of the whole-wheat sourdough bagels was the only bake that revealed a bit of a nuttiness along with it, which was a fun twist.

Final Thoughts

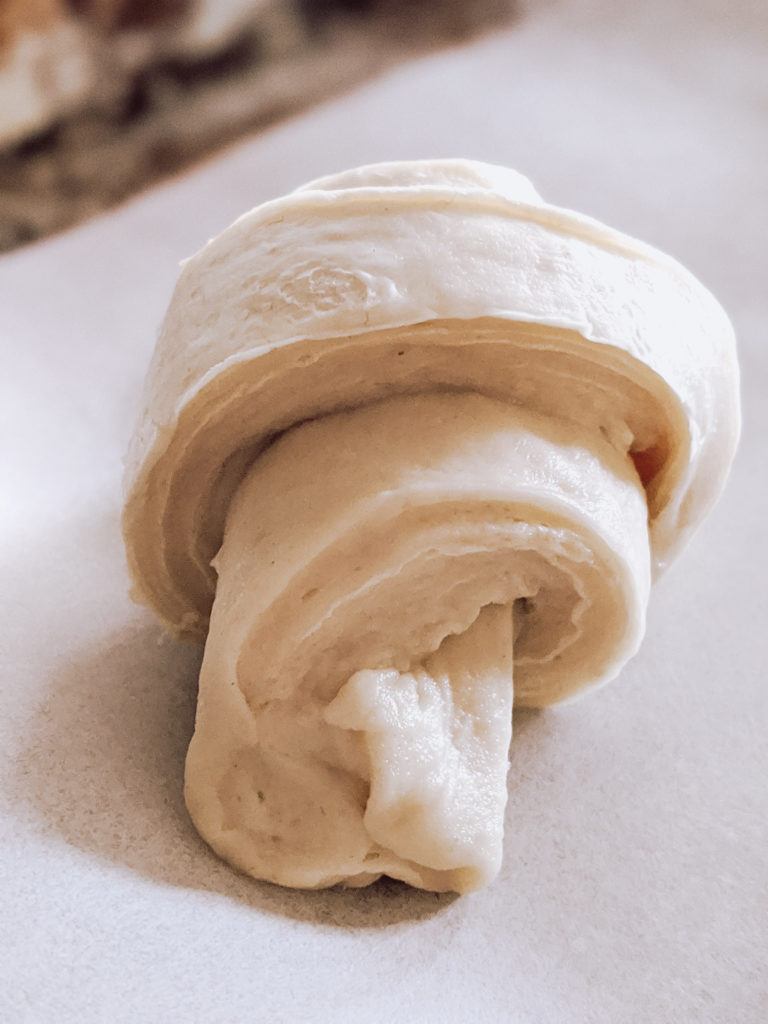
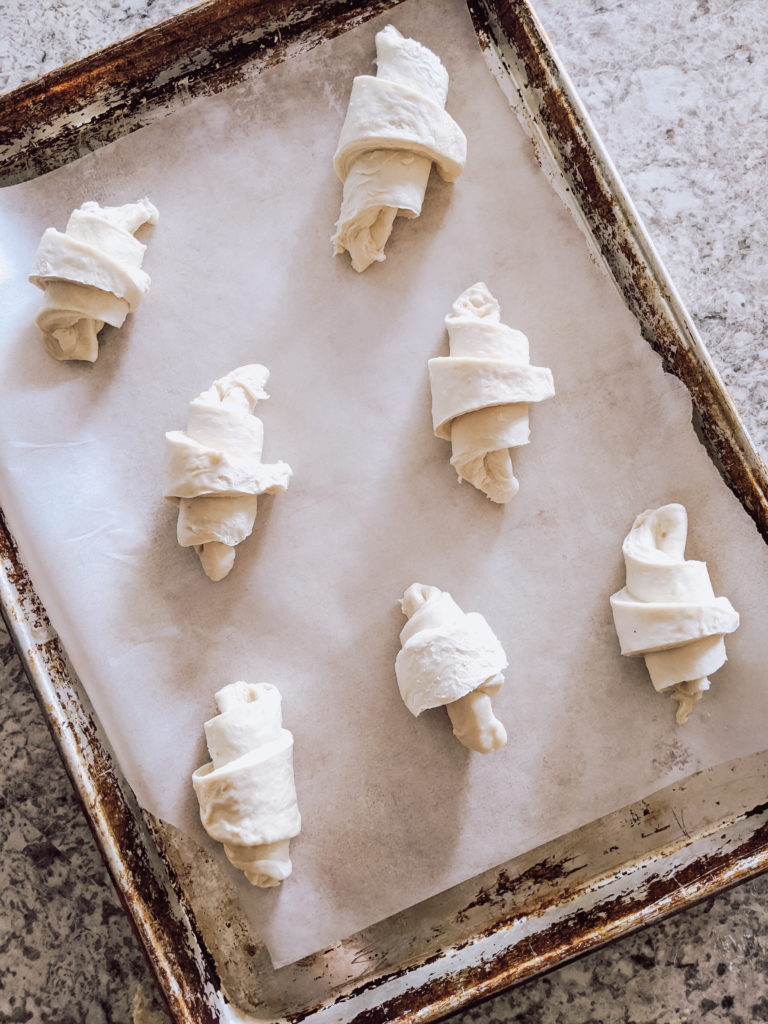
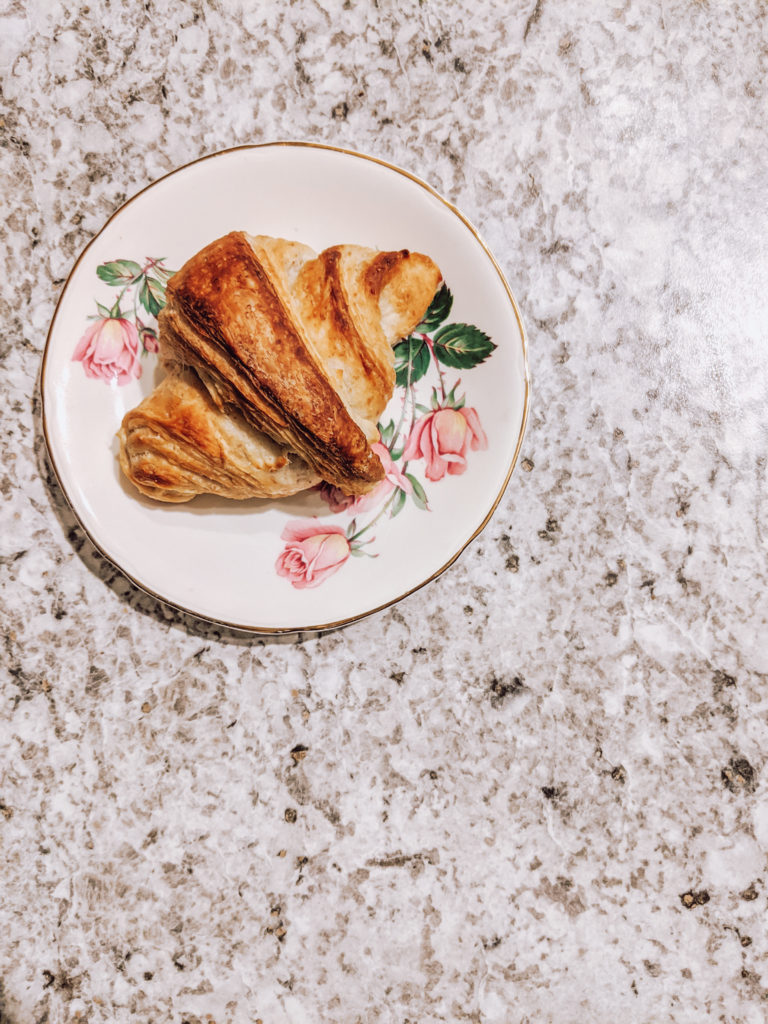
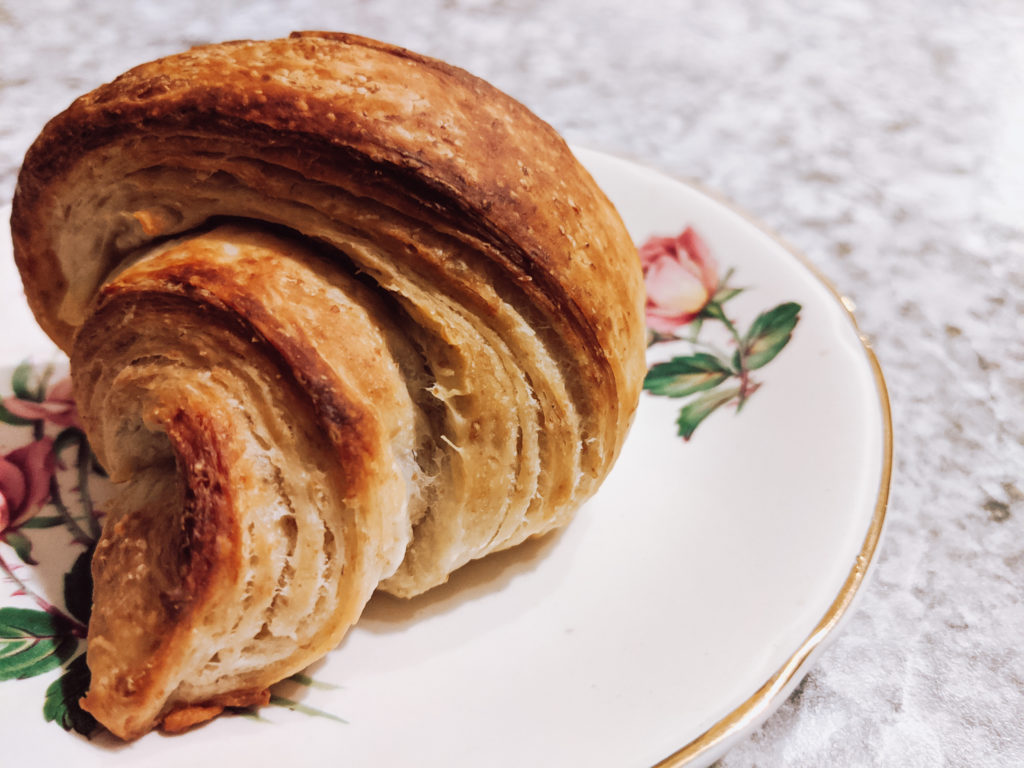
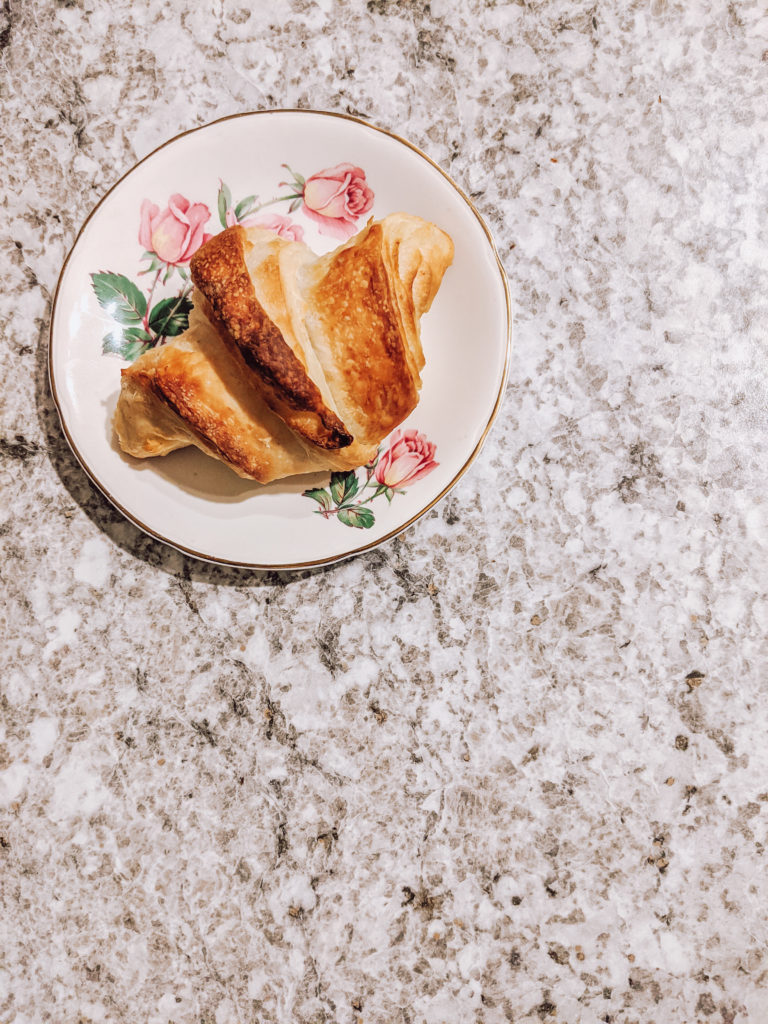
Having these flavour profiles laid out, I can now pick and choose which starter I feel appropriate for which baked good. For example, croissants went beautifully with the AP starter, while the whole-wheat bagels were a favourite at our house.

Overall, I’ve had a blast with this inquiry and will absolutely continue trying out recipes. All of this will now be made a lot easier, as I have more knowledge about sourdough care and use than when I first started.

-Megan B.

Bake 5 – Doughnuts

Honestly, I’m not the biggest fan of doughnuts. They’re fine, but I never really crave them – they’re usually too sweet, sit too heavy, and taste a bit too plain. But in an attempt to think of new things to test out my sourdough on, they seemed like a good experiment!

There weren’t that many vegan sourdough doughnut recipes that popped up in my search, but this one from Fare Isle looked promising. As I usually do, I followed the methods to a tee, but took some liberties with ingredients to have it suite my pantry contents and personal taste.

As also, I am doing the same as last week’s bake, where I only make one batch using one of my starters. This is, again, due to not needing a ridiculous amount of sweets in the house, but also having limited amounts of certain ingredients.

Recipe
  • 100 g whole-wheat sourdough starter
  • 650 g all-purpose flour
  • 1 tsp salt
  • 1/2 cup vegan butter
  • 1-1/4 cup non-diary milk
  • 1/4 cup water
  • 3 tbsp sugar
  • neutral oil for frying

Vanilla Glaze

  • 1 cup powdered sugar
  • 2 tablespoons non-dairy milk
  • 2 tsp vanilla

In a small sauce pan, melt butter over medium heat. Remove from heat and add in milk, water, and sugar. Stir to dissolve.

In a stand mixer set up with the dough hook attachment, mix the melted butter mixture with the starter and salt until combined.

On low speed, had half the flour. Once incorporated, add the other half. Mix for 5 minutes until a smooth dough forms.

Let the dough rest, covered in a bowl, until it’s doubled in volume, about 8-10 hours.

After it has proofed, turn dough onto floured surface and roll to 1/2″ thick. Cut dough into circles and cut out the smaller inner circle if desired. Rework and roll the scraps to make more doughnuts.

Place cut-out dough on a lined baking sheet and let rest, covered, for 1 hour.

After about 50 minutes, begin preparing the frying oil. In a heavy bottomed pot, heat oil to 375F.  For my stove, I set the element to medium heat (5) and once it reached the right temperature, reduced it to med-low heat (4) to avoid it getting too hot.

Fry doughnuts, a few at a time, for 45 seconds per side, until golden. Place on cooling rack.

Once doughnuts are cooled, mix together glaze and dunk the tops of the doughnuts it. Place back on rack to drip and set.

Thoughts

I’m pretty confident in the kitchen, but frying (especially deep frying) things is scary for me. Hot oil freaks me out and I always imagine something bad happening, so this was definitely out of my comfort zone. The frying process was not my favourite, but the mixing and cutting of the doughnuts was a lot of fun.

For sourdough flavour, this was probably the most subtle result I’ve had so far. Usually after whatever dough I’m making has proofed, the sour smell is overwhelming, but I really couldn’t smell it much for this one. Luckily that sour taste was there, although still subtle. I was using my whole-wheat starter, so it added a salty, grainy twist to the plain dough, which was a nice touch for something that is usually quite sweet. I do think the all-purpose starter would give it a more fun, sour twist, which would go well with a sweet glaze – but I can always try that out next time.

All-in-all, I’m happy with the results! I would make this recipe again if I was ever itching for a doughnut.

-Megan B.

Bake 4 – Brownies

This week’s bake looked a little bit different than my past ones…
While my inquiry has been more geared towards comparing the two starters, caring for them in order to do these comparisons and keep up with the weekly baking has left me with a lot of discarded sourdough starter. I really hate tossing perfectly good ingredients out, so I though it was about time for me to figure out something tasty and fun to do with it!

A quick online search, and a hankering for chocolate, brought me to this fabulous brownie recipe. Using the discard in the place of where some of the flour and liquid would be added, this recipe immediately struck me as doable and delicious – I had to give it a try.

Recipe

Following Izy Hossack’s recipe exactly, I made only slight changes based on the ingredients I had available in my kitchen, which I’ve written in my version below.

  • 120g aquafaba
  • 1/4 tsp cream of tartar
  • 200g sugar
  • 100g vegan butter
  • 150g semi-sweet chocolate
  • 200g AP sourdough discard
  • 1 tsp vanilla extract
  • 50g unsweetened cocoa powder
  • 70g flour
  • 30g cornstarch
  • 1/4 tsp baking soda
  • 1/4 tsp sea salt

In the bowl of a stand mixer, whisk the aquafaba and cream of tartar on high speed until it makes a think, pale foam.
Add in sugar, a few tbsp at a time.
Whisk on high for 5 more minutes, until most of the sugar is dissolved.

Over low heat, warm the vegan butter and chocolate until it’s mostly melted.
Remove from heat and stir until it become a smooth, creamy mixture.
Stir in the sourdough discard and vanilla.

Preheat oven to 350F and prepare an 8×8 baking pan.
Add about 1/4 of the aquafaba mixture into the melted chocolate. Stir until combined.
Pour the chocolate mixture into the bowl of the aquafaba. Add in the rest of the ingredients and very gently fold to combine.
Once everything is combined, pour into prepared pan and bake for 30 mins.

Thoughts

I was honestly pretty unsure how a sourdough brownie would turnout – the thought of a tangy brownie just was not computing in my mind, which was part of the fun of trying this recipe out.
During the mixing process, the sourdough aroma was STRONG – it was giving off a pretty intense sour milk/buttermilk smell, which weirdly worked really nicely with the smell of the warm, melty chocolate.

First impression of the final product: two thumbs up from myself and my husband. The milky, tangy taste was there from the starter, but was more of a side note to the strong flavours of the brownie itself. The balance was great, the texture was fudgy in the middle and slightly crunchy on the top and edges, and the sweetness wasn’t too overpowering (I reduced the sugar).

This was a really fun recipe to make, and a nice change from the usual sourdough recipe process. The starter was added simply for flavour and to reduce waste, as opposed to being a leavening agent, so there were no technical worries, as there usually are when I  try out sourdough recipes.

I also just used my all-purpose starter for this recipe so far, instead of doing two batches as I normally do to compare – I really didn’t need two full trays of brownies in the house all at once! I took note of the flavours of this bake and will compare when I make this recipe next with the whole-wheat starter.

-Megan B.

Bake 3 – Bagels

This week was feeling like a bagel kind of week, so that’s what I decided to make!

I’ve only made bagels a handful of time a few years ago, but never with sourdough, so this was going to be another week of experimenting, learning, and crossing fingers that I’d end up with a half decent product. I was still riding the confidence from last week’s bake, so I was feeling pretty good going into bagel-making. Saturday, Halloween, I dove into this new challenge, excited to see the turn-out come Sunday morning.

Recipe

I followed the sourdough recipe from Little Spoon Farm, cutting it in half as I was making two different batches, and making minor adjustments which I’ve included in my recipe below. Each batch makes 4 bagels (so I ended up with 8 total), but it’s easy enough to multiply to make more.

  • 62 g sourdough starter
  • 125g water
  • 20g (+1 tbsp for boiling) sugar
  • 5g sea salt
  • 50g whole wheat flour
  • 200g AP flour

In a bowl, stir together starter, water and sugar. Add salt and flour until moderately incorporated.

Using a stand mixer with a dough hook, or kneading by hand, work dough for about 6 minutes.
Place back in a bowl, cover with a dish towel, and let rest for 12 hours.

After 12 hours, turn dough onto counter and divide into 4 equal parts. Form each part into a bagel shape.  Once done, place on a parchment or silpat lined baking sheet.
Cover tray with dish towel and let rest for 30-60 mins.

Preheat oven to 425F.
Fill a large pot about 3/4 full of water. Add 1 tbsp of sugar and boil.
Once boiling, put in a few bagels at a time, cooking 2 minutes per side. Put back on baking sheet when they’re done.

When all bagels are boiled, bake for 20-25 minutes.

Thoughts

The entire recipe and process was pretty darn simple and easy to follow!

After the 12 hour rise, the sourdough aroma was STRONG (in a good way). The end result was nowhere near as sour as I thought it would be based on the smell, which was a tad disappointing, but there was still decent sourdough flavour in both batches.

The Results

Whole-Wheat

Like my bake from a few weeks ago, the whole-wheat starter produced a saltier, more umami flavour in the bagel. There was a bit of a sourdough tang, I would have liked it to be a bit stronger, but it was definitely still noticeable.

White/All-Purpose

The difference between this and the whole-wheat batch was staggering. Despite having the same look and texture, the flavour was very different. The AP starter produced a lighter, brighter flavour. There was a lot more tang that had a clear sour taste. While the whole-wheat was more salty, the AP starter created a sweet taste

This bake was the most exciting in terms of sourdough production – the flavour profiles of the two starters are really developing and becoming so clearly different.

This bagel recipe was also a great success – it got two thumbs up from my husband and my son, so I’ll be making it again soon. Hopefully I can work out my shaping technique to get some more uniform looking bagels!

-Megan B.

Bake 2 – Croissants

Seeing as how I have not yet mastered basic sourdough bread, the next logical step on this journey would be to try and make the most difficult sourdough pastry I could possibly think of, right?

I’ve been feeling pretty bread-ed out lately and needed a change… In comes my hankering for a croissant. It’s been about 7 years since I’ve had a croissant. I absolutely loved them – warm and flakey, topped with a bit of raspberry jam – but have not yet been able to find a vegan version during these 7 years (red flag #1). So I thought, seeing as though I’m already tackling some difficult baking, might as well add that challenge to the list and make some vegan sourdough croissants! While I 100% understand that I’m setting myself up for failure, the experimentation and challenge of this task is too good to pass up.

Recipe

The search for a vegan sourdough croissant recipe came up with next to no results (red flag #2), but I stumbled upon one gem of a recipe on a vegan baking subreddit that looked promising.  I cut the recipe in half (the measurements I used are listed in the recipe below) and made one half batch with my whole-wheat starter, and one with my all-purpose starter, following the exact same measurements and methods for both.

  • 210g AP flour
  • 5g salt
  • 25g sugar
  • 70g sourdough starter
  • 60g alternative milk
  • 60g warm water
  • 25g + 100g vegan butter

Thinly slice 100g of butter and put it in the freezer.

Mix the dry ingredients together in a bowl.
Add the milk, water, and starter. Once mixed to a rough dough, knead for about 5 mins.
Add in 25g of butter, kneading for another 5 mins until incorporated.
Put dough in a bowl, cover and allow to rise for 2-3 hours at room temperature.

Roll the chilled dough into a rectangle, so that it about 1 cm thick.
Place frozen butter over 2/3 of the dough.
Fold the empty third over the middle. Fold another third on top of that. The stack will now be dough/butter/dough/butter/dough.
On a gently floured surface, roll stack into a rectangle about 1cm thick.
Fold the two ends towards the middle (but not overlapping). Fold in half the other way.
Wrap in saran wrap and refrigerate for 30 minutes.

Roll out chilled dough again to about 1cm thick. fold in thirds again.
Re wrap in saran and refrigerate for 1 hour.

Roll out chilled dough to 1cm thick. Cut out triangles, about 10 cm at the base and 2cm at the sides.
Gently stretch out the base of the triangle. Roll the dough, starting at the flat end of the base to the tip of the triangle. Repeat for all the triangles.
Place the croissants on a tray lined with parchment paper or a silpat mat. Place them so that the tip is on the bottom of the pastry.

Proof the croissants for 2-3 hours. In the final hour, preheat oven to 425 F.

Bake for 10 minutes at 425F, then reduce to 400F for 18 minutes.

Thoughts

The recipe, although a lot of steps, was simple and easy to follow. I was very pleasantly surprised at how good the laminated dough looked after

I rolled the croissants. I honestly didn’t think I’d get that clean of layers while I was making it. The vegan butter seems to have a higher water content and melts a bit easier than regular butter, so I was worried the melting/temperature would negatively impact the lamination process.

The Results

I CANNOT  CONTAIN MY EXCITEMENT – They worked!!! I really truly  can’t believe the beautiful croissants that came out of this experiment of a bake.

Whole -Wheat

Surprisingly, this batch rose a tad less during proofing, so I was nervous about how the sourdough was doing in there, but the oven spring really picked up the slack.
As far as flavour goes, the whole-wheat starter really shone through. The tang of the sourdough was subtle, but it was accompanied by a really beautiful nutty flavour, which my husband and I both thought was a great addition to the plain, buttery croissant taste.

White/All-Purpose

During the entire process, the dough of this batch was a bit easier to work with. After cutting and rolling, the lamination also appeared to be more prominently displayed. The rise during proofing was perfect – I definitely had more more confidence that this batch would turn out better because the starter seemed to give it more rise.
The sourdough flavour in this batch was more true and more pronounced without being too sour (which I wouldn’t want in a croissant.


I am still in shock at how this bake turned out, happy and intrigued with the specific sourdough flavours that came through in each batch, and so inspired to make more croissants!

Bake 1 – Basic boules

After a week and a half of feeding my starters I was starting to get the feeling that they were ready to use. In both the whole wheat and the white, I was seeing consistent growth, increased bubbles (a great sign of fermentation!), and they were both smelling tangy and  yogurt-y.  Although the whole wheat starter was fermenting a lot quicker than the white, I felt they were both ready to bake.

To bake both of them, I followed the exact same recipe and the exact same method to ensure I would get an accurate comparison of how the different starters effect the process and flavour. I kept things simple by going with a classic white sourdough boule recipe from The Sourdough School, and followed the retarded method.

Recipe

225g leaven*
735g water
800g white flour
200g stone ground whole-wheat flour
20g sea salt

*Leaven:
35g sourdough starter
100g flour of choice
100g water at 86F

Method

The retarded method (vs. the ambient method) gets the dough fermenting at room temperature, then leaving it overnight in the fridge to slow down the yeast and get more acetic acid developing. The process, start to finish- takes up to 3 days due to this slowed down ferment, but results in a more sour, light-vinegary flavoured loaf, which is my personal preference in a sourdough.
This method also produces a more digestible and nutritionally dense loaf, as an added bonus.

Results

Whole-wheat
Although it’s not the most beautiful loaf, I would deem this first attempt a success. There was a decent amount of rise, the loaf was not too dense and the crumby was nice and airy.
The flavour was a touch sour, but mostly hearty, grainy, and a saltier than the white loaf (though not too salty), despite having the same ingredient measurements.


White/All-purpose
This loaf was less impressive… the starter was much less active than the whole wheat one, so it’s pretty clear to see after baking that it just wasn’t mature enough yet. I ended up with a pretty dense, flat loaf that we ended up making into croutons; the silver lining of bad bakes – it can just be made into another tasty, bready treat.
I was surprised, given the immature starter, that I was able to taste a difference in flavour between this and the whole-wheat loaf. Although it was subtle, this loaf definitely had a more sour tang to it, similar to milk or yogurt. It was a cleaner taste with a bit of sweetness to it.


I’m looking forward to maturing both of the starters and seeing how more fermentation changes the bake.

-Megan B.

Building bacteria

I am so excited to really get going on this sourdough experiment.

Using the starter recipe from The Sourdough School book, and the method and timing plan from The Perfect Loaf, I have a clear layout of what needs to happen. First thing’s first, I gathered everything I need to put this starter together.

Supplies

  • Scale
  • Glass jar (2)
  • Wooden spoon
  • Recipe book

In looking at my second inquiry question, I’ve decided on two different flours to make the two starts out of. The first will be an unbleached all-purpose flour  from Ardent Mills. The second, a stone ground whole wheat flour (red wheat) from local milling company, Nootka Rose.


Process

Following The Sourdough School, and working with one flour at a time, I mix together 150 grams of flour with 150 grams of water (82°F) in a glass jar.

When all of the flour is well incorporated, I cover the jar loosely and let it sit for a full 24 hours to begin blending those wild yeasts and bacteria together.

Feeding

Following the timing prompts suggested from Maurizio at The Perfect Loaf, I’ve created a schedule to feed my starters.
Feeding them involves discarding half the the starter, then adding 75 grams of flour and 75 grams of water, then letting rest again. This introduces new yeast to the mix, giving the starter more “energy” to continue fermenting.

I’m hoping to see home activity (bubbling, growth, that distinct ferment smell) within 2-3 days, and have it be established enough to use in 10-14 days.

Fingers crossed!

-Megan B.

Flour + water + salt

With the topic for my free inquiry nailed down, it’s time to get started on the research process.

Resources

There are one thousand and one resources, blogs, books out there that all share similar recipes and instructions when it comes to sourdough, but all with slight variations in ingredients and methods. How is a beginner supposed to choose what to follow?
After combing through website after website and browsing through physical books, I was able to come up with a few good starting points for this journey. Each of the following offers clear, step by step guides from creating your starter to baking a loaf. They also provide troubleshooting, options for variations, and a huge catalog of recipes to work your way up to (because the experimenting and learning is never done with fermentation!)

I’m so thankful for the online resources being so easily accessible for free use. In all three of the websites above, it was mentioned by the author that the point of these blogs was idea of documenting and sharing what is a bit of a finicky process, trying to make it more doable and friendly for all.

My mission? To show that sourdough baking can be accessible to anyone, even you    – Emilie (The Clever Carrot)

The questions

After looking through these resources, I was able to get a better understanding of how the entire process was going to look, which allowed me to narrow in on the questions I would like to tackle.

The first, and more broad of the questions I want to start out with is finding out what makes a happy starter. This is one of the biggest aspects I struggled with in my past sourdough attempts. Like any living thing, the microbes and bacteria in the sourdough culture are happiest under certain conditions. Even if the instructions of the recipe are followed exactly, these can vary based on a whole host of reasons (room temperature, altitude…). I predict this will be the toughest, but most important part of the process.

My next inquiry question is going to be looking into the differences in appearance and taste of two different starter types. This will be a handy and fun way to compare the exact same process for two different flours, and to see how each may have different preferences to the first question.

I’ve decided to use these two questions as my starting points, seeing where the sourdough journey takes me (or rather, us: my starters and I), and then developing deeper, further questions based on the results.


Now that I have a plan and a beginner’s knowledge, I’m ready to get started – time to make my starters!

-Megan B.

Here we go. Sourdough.

Food fermentation is a process that I didn’t grow up practicing.
When I was younger, food was fast; meals were strategically and quickly prepared after my parents got home from work to fit in between lessons or extra curricular activities. Although health was important, ultimately meals were selected for convenience and ease of preparation.
It wasn’t until I moved away on my own for the first time that I discovered that food could slow down. My broke, 17 year-old, university student self realized that I could easily bake bread instead of buying it. I could make  gnocchi and nut/seed milks for a fraction of the price instead of buying them, plus I knew exactly what was going into them. Sure, it took more time, but I had time to spare and money to save. Eventually this slower food prep just became second nature.

A few years ago, my husband suggested upping our food prep game by slowing it down even further while boosting the health – introducing fermentation to the mix. This has been a game-changer for us so far, introducing pickled veg, sauerkraut, kimchi, wine, and kombucha to our repertoire. The one ferment we’ve had inconsistent success with, however, is sourdough. She has defeated us too many times and I’m ready to get to the bottom of why.

Ready to turn over a new leaf loaf

For my free inquiry I’m going to be jumping into the world of sourdough so that I can finally get a hang of this gosh darn process and create consistent, beautiful, tasty loaves for my family, friends, and I to enjoy.

I’m still working though exactly which questions I want to ask in this inquiry, but some ideas I’ve been playing with are:

  • What makes a healthy, happy starter
  • How different qualities of grain affect the rise and bake
  • How using different types of flour in two different starters affect the flavour of the loaf(s)
  • How the methods and timing of the rise affect the bake
  • How using different cooking vessels affects the loaf
  • Research into why sourdough promotes better gut health

I hope everyone is ready to eat bread, because I’m ready to get researching and baking.

-Megan B.